Drone体验
相较于Jenkins,Gitlab-CI…等,尝试Drone的首要原因是,天生的docker支持。不用去操心部署CI或者CD的环境配置等等烦心事。只需要上手,如何配置这个CD工具,让我使用更加畅快和顺手。
安装部署 #
前提:已经安装了docker,docker-compose,并基本掌握docker用法,基本熟悉docker-compose配置文件
pull镜像 #
docker pull drone/drone:0.8  # droner-server 镜像
docker pull dorner/agent:0.8 # drone-agent 镜像
也可以跳过这一步,docker运行的时候,如果匹配不到本地镜像,会自动拉取。
docker-compose.yml配置文件 #
为了方便,新建一个Drone文件夹,目录结构如下:
--Drone                  # 文件夹
  |---docker-compose.yml # docker-compose 配置文件
  |---data               # 用于挂载的数据文件
  |---drone.domain.com   # nginx sever 配置文件
  `---other.file         # 其他文件
已知文件结构后,编写的docker-compose.yml文件如下:
version: '2'

services:
  drone-server:
    image: drone/drone:0.8
    container_name: drone-server
    ports:
      - 8000:8000
      - 9000:9000
    volumes:
      - ./data:/var/lib/drone/ # 在没有跟数据库绑定的情况下,默认使用sqlite数据库
    restart: always
    environment:
      - DRONE_OPEN=false
      - DRONE_HOST=http://127.0.0.1:8000 # 最好是在服务器上,localhost无法收到webhook的通知
      - DRONE_ADMIN=yourname

      - DRONE_GITHUB=true
      - DRONE_GITHUB_CLIENT=7bc7971bxxxxx # 需要预先注册一个github oauth应用
      - DRONE_GITHUB_SECRET=9456c630xxxxxxxxxxxxxx

      - DRONE_SECRET=secret
      - DRONE_DEBUG=false

  drone-agent:
    image: drone/agent:0.8
    container_name: drone-agent
    command: agent
    restart: always
    depends_on:
      - drone-server
    volumes:
      - /var/run/docker.sock:/var/run/docker.sock
    environment:
      - DRONE_SERVER=drone-server:9000
      - DRONE_SECRET=secret
      - DRONE_DEBUG=true
启动Drone #
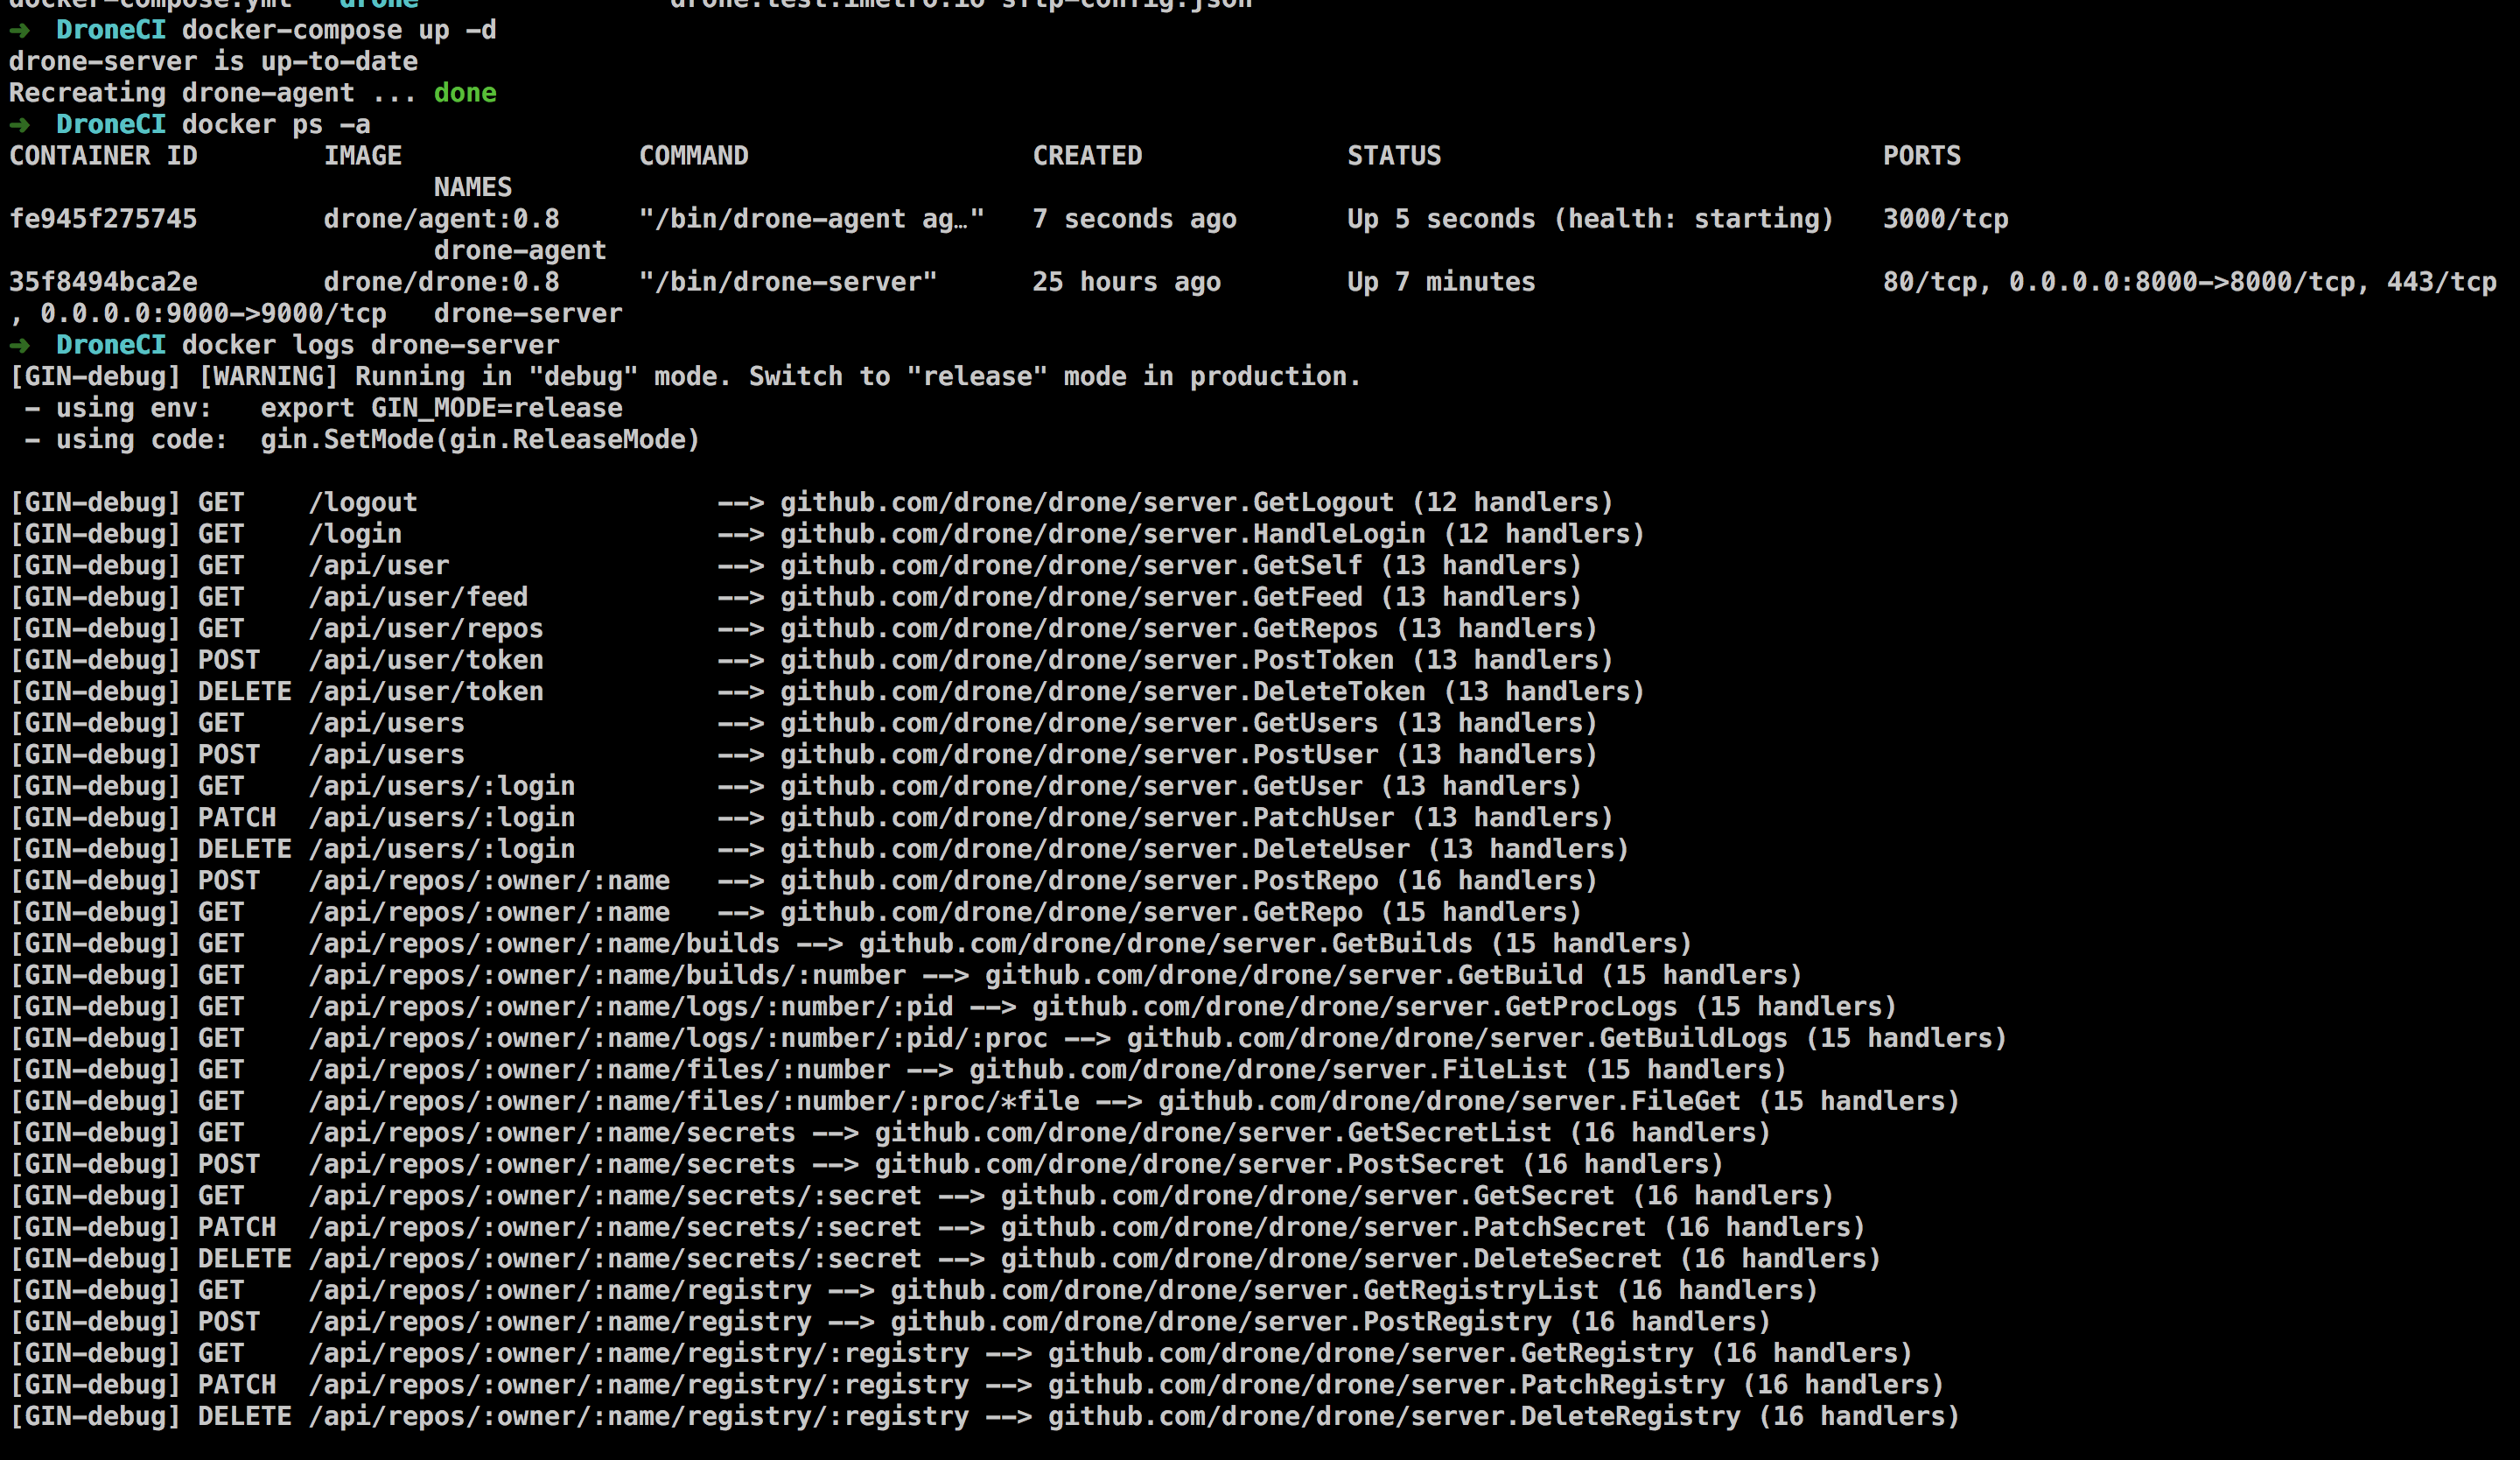
启动就很简单了,Drone目录下执行:docker-compose up -d,启动结果截图如下:
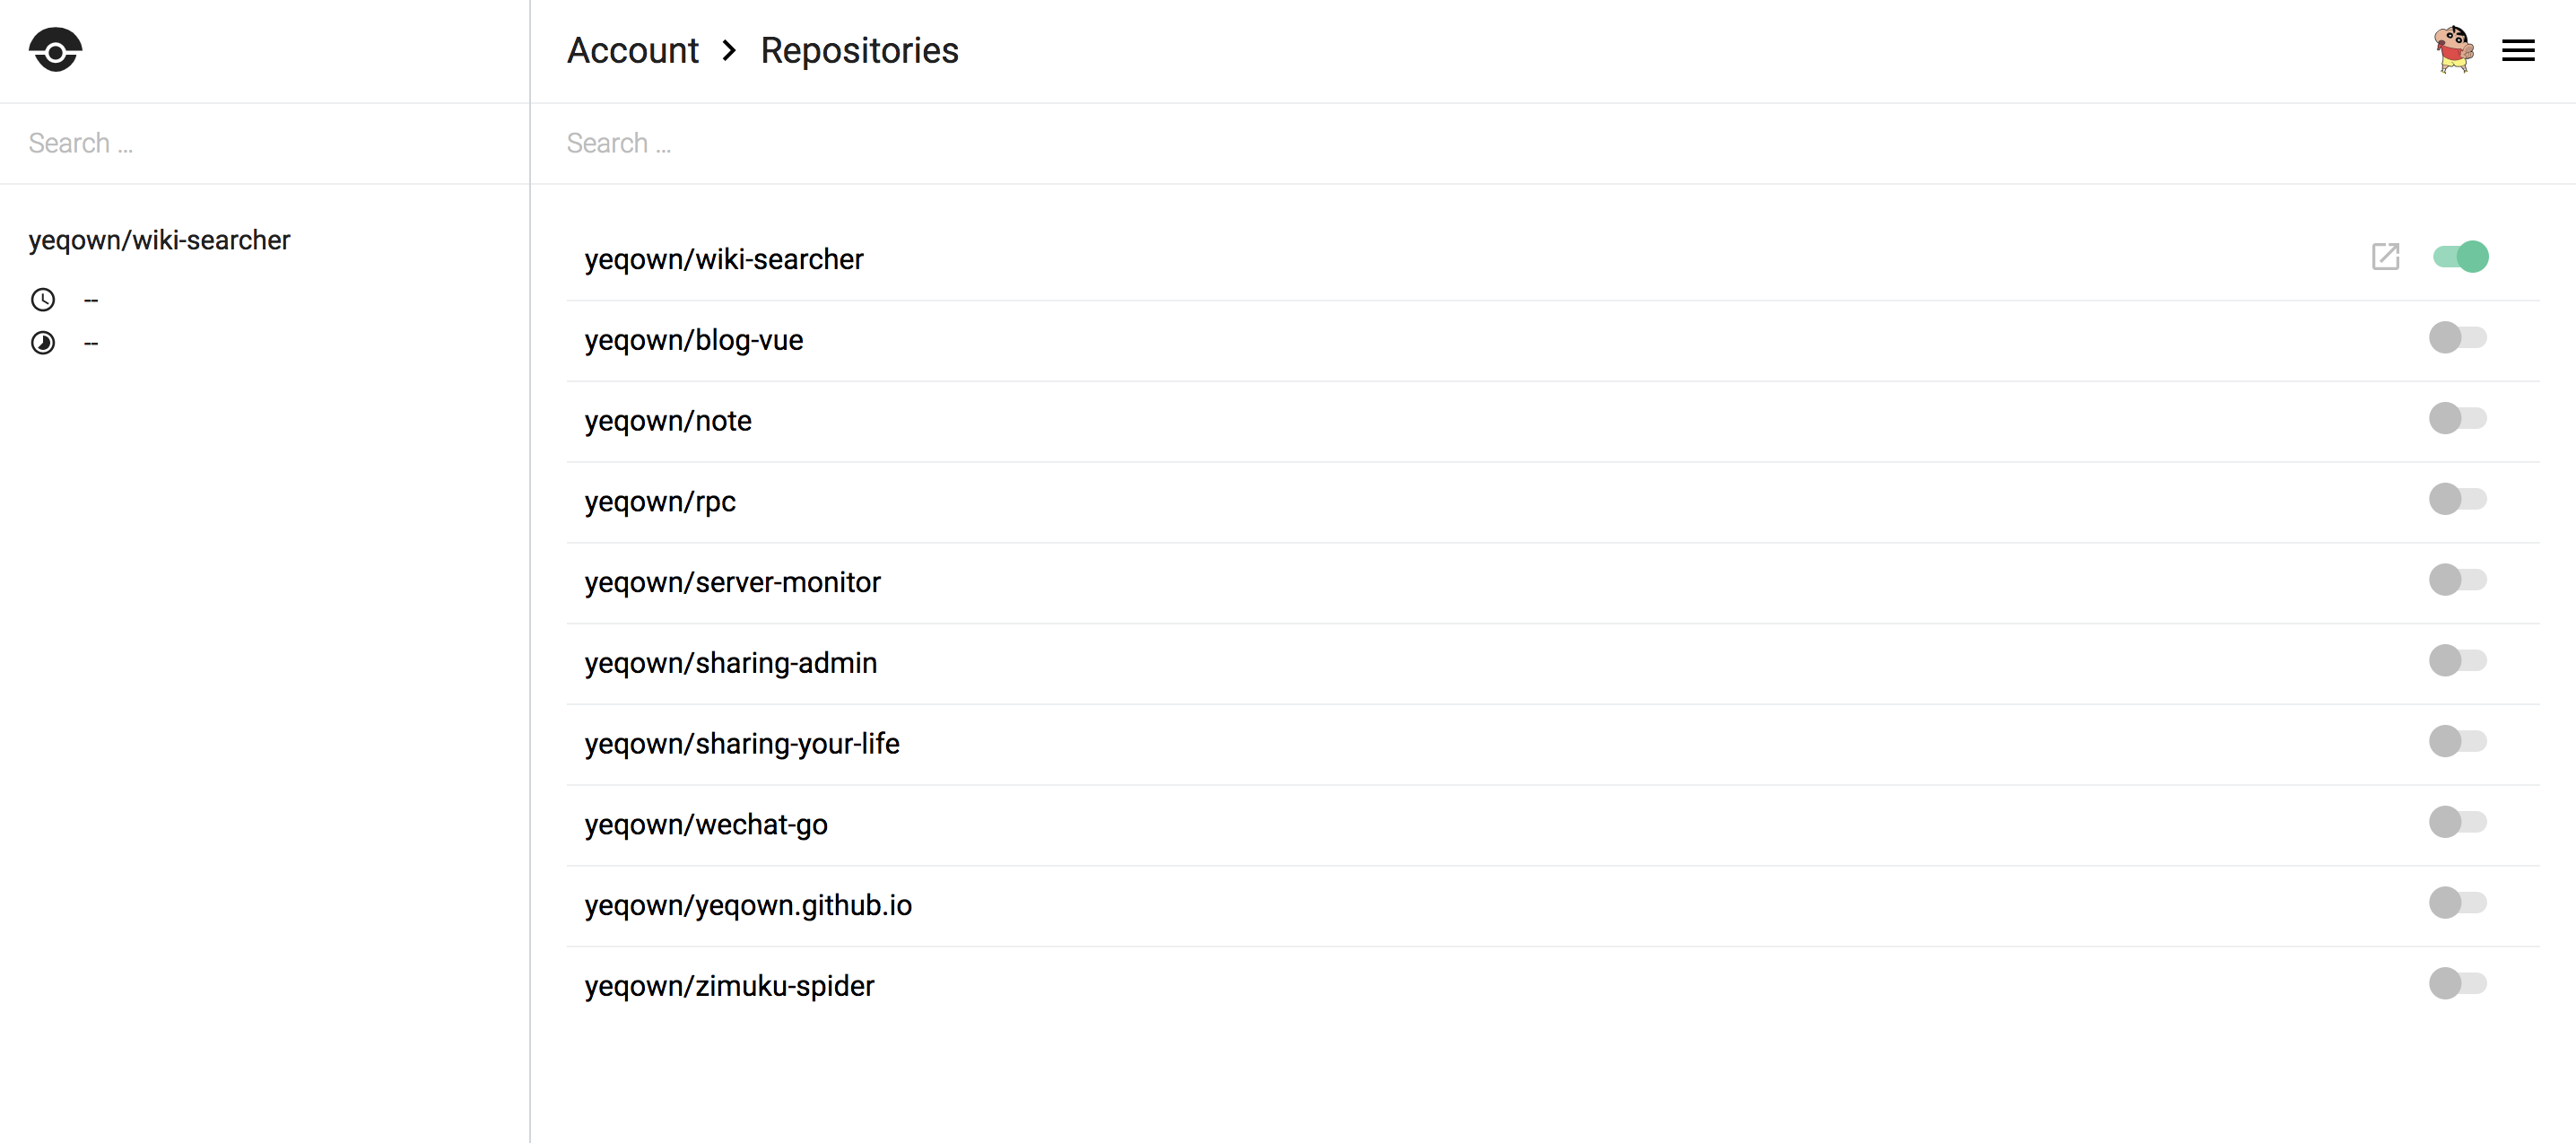
 如果是首次打开,会先去github请求授权,然后回调
schema://drone.your_domain.com/authorize,如截图:
